 At the moment I am back in the Bahamas, I had to return as my visa for entry to the USA doesn’t start until the end of July, so I’ve taken the opportunity to teach a few courses.
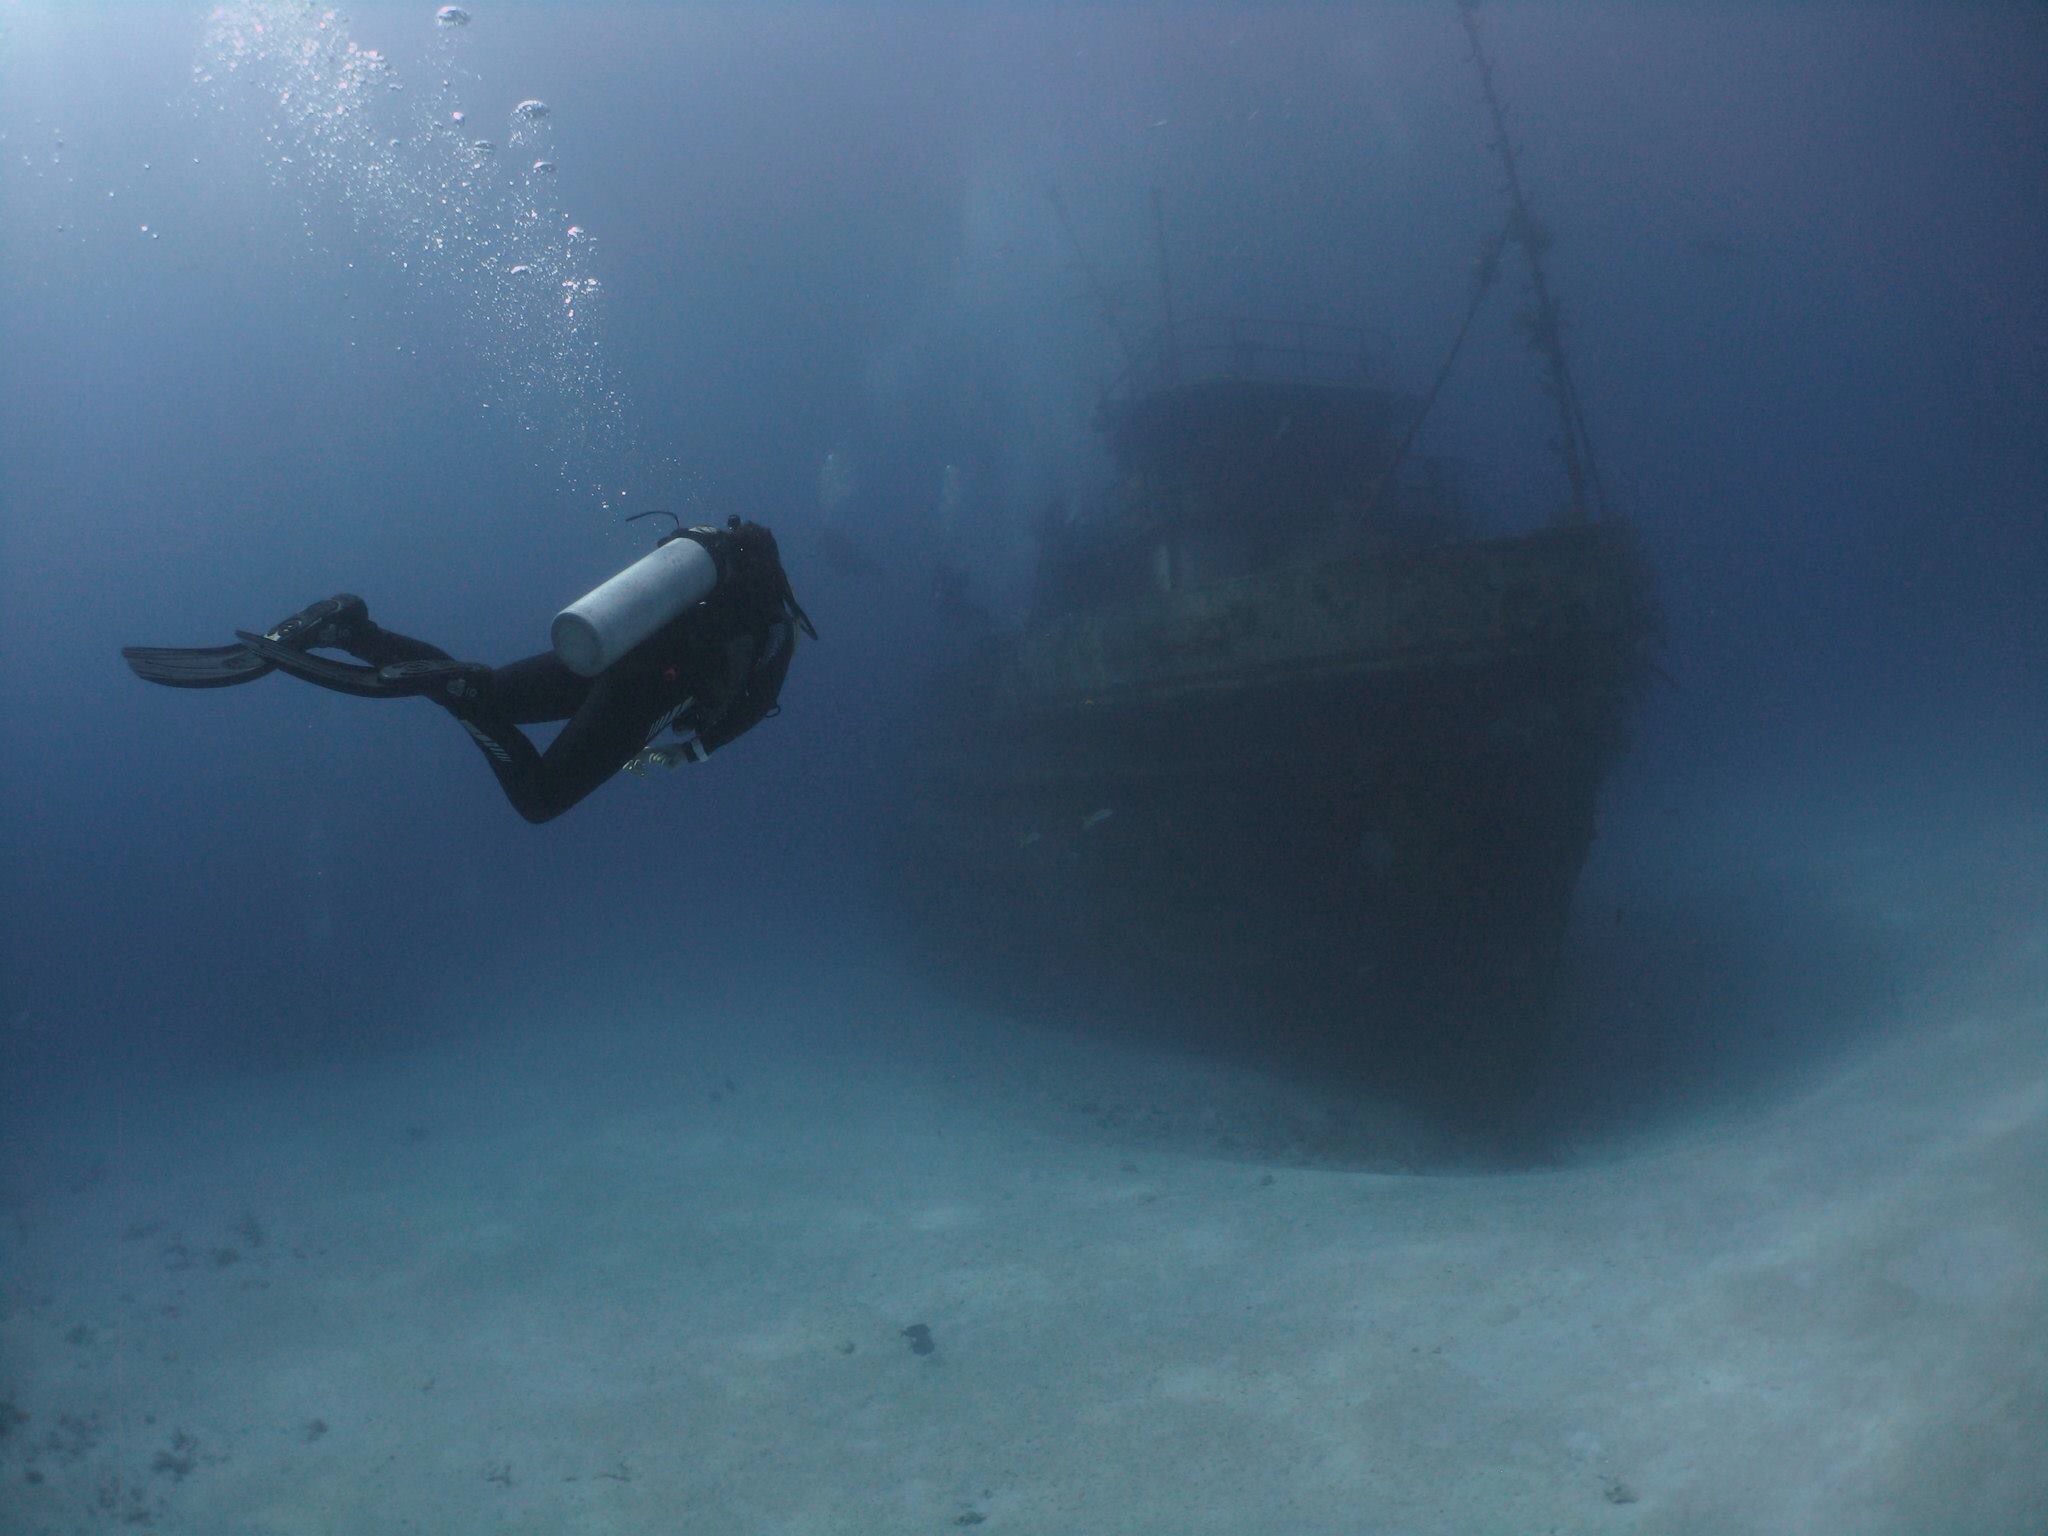
One of my favourite things to do is wreck dive. I find wrecks infinitely more interesting than reefs; though I do love a good reef dive. Most of the wrecks here in Nassau are in shallow water and are easily accessible, multiple well lit entry and exit points, and there isn’t much chance of a dangerous silt out.
Before embarking on a wreck course think carefully about the following:
Buoyancy
Having excellent buoyancy is important. On all of the courses I teach I include a variety of buoyancy drills. A wreck is a confined space and you need to be able to move carefully through it. It is easy to cause a silt out in these situations. You also need to be able to do a variety of different finning techniques. In the video below, the first 10 minutes show good trim and good finning techniques. Definitely worth a watch.
Equipment
The right equipment and positioning of it can make or break a dive. Speak to your dive instructor about what they recommend/prefer and why. There is a lot of different items of kit out there and it can be confusing. To wreck dive you should have at a minimum (obviously you’ll have your standard scuba setup):
- Three lights – a primary and two backups
- A primary reel
- Two safety reels/spools
- Redundant air supply (either carried or as a hang tank at the safety stop)
- Two knifes – I prefer eezycut trilobites
- Slates or wet notes
- Back up mask
- Compass
- Spare double-p-clips
- Gloves (wrecks can be sharp)
These may differ slightly from PADI’s minimum requirements, in fact they go beyond PADI’s minimum requirements and align more closely with what I would take cave diving.
Instructor
There are many instructors out there that are awesome. There are also some that will cut corners. Make sure that your instructor is qualified and in active status with their training agency. Talk to them about what the course will entail. PADI’s wreck course is four dives so that means it cannot be done in one day.
The course itself
Once you start the course there are four dives that you will take part in. Here is a brief outline of what the main objective is of the dive:
Dive 1 – identify potential hazards of a wreck, this is usually done as part of the advanced open water course.
Dive 2 – map the wreck
Dive 3 – practice laying line on the outside of the wreck
Dive 4A – plan and perform an actual penetration dive under the supervision of your instructor
Dive 4B – plan a non-penetration dive with a buddy
Dive 4 has two options, most often my students will opt for option A.
Wreck diving limits
Pay attention to these limits as they might just save your life.
Edge of light zone – you should never penetrate past this. You should always be able to see natural light. This means no wreck penetrations at night.
Linear distance – you should not penetrate more than 40m/130ft of linear distance. This means if the wreck is at a depth of 18m/60ft then you can only penetrate a maximum distance of 22m/70ft or until the edge of the light zone, whichever happens first.
Air supply – use the rule of thirds. One third for penetration, one third for exit, and the final third for emergencies.
Narrow spaces – if two divers cannot swim side by side, then the wreck is too narrow to penetrate or the passage way is too small to go down.
